the perfect cheese plate
Growing up my favorite meal was grilled cheese and a typical late night snack would be sneaking a slice of American Cheese. As an adult, I have told myself not to eat cheese. I have even gone through periods where I gave up cheese, lost weight and felt accomplished for refraining from my weakness. But you only live once. And if cheese makes me happy, I’m not gonna fight it. Lately, I’ve started to enjoy cheese plating. It’s allowed me to turn my love for a snack into something that I want to learn more about.
I put this hobby to work while honeymooning in France. Z and I lived on a steady diet of cheese, bread and wine for two weeks and went to many tastings and local shops to learn more about the cheese we were surviving on. After we returned to the states and were forced to eat three balanced meals a day again, I went to my local cheese shop and asked for help. I described to the cheesemonger behind the counter all of the wonderful cheeses I experienced, only to find out many of those cheeses can’t be imported to America! But there is so much to work with here, I’ve decided to try and learn about a new cheese every time I go shopping and to make cheese plates as often as possible. For National Cheese Day, I want to share with you how to build the perfect cheese plate for your next party.
Basics Ingredients to the Perfect Cheese Plate:
cheese, fruits, olives or pickles, nuts, bread, crackers, meat, and chocolate
1. Chose three of four types of Cheese:
Blue Cheese
Hard Cheese
Semi-Soft
Fresh
Bloomy Rind
2. Chose two or three Fruits:
grapes, apples, berries, oranges, dried fruit
3. Chose two breads:
crackers
baguette
crostini
4. Choose one or two meats and olives or pickles
prosciutto or salami, and cornichons
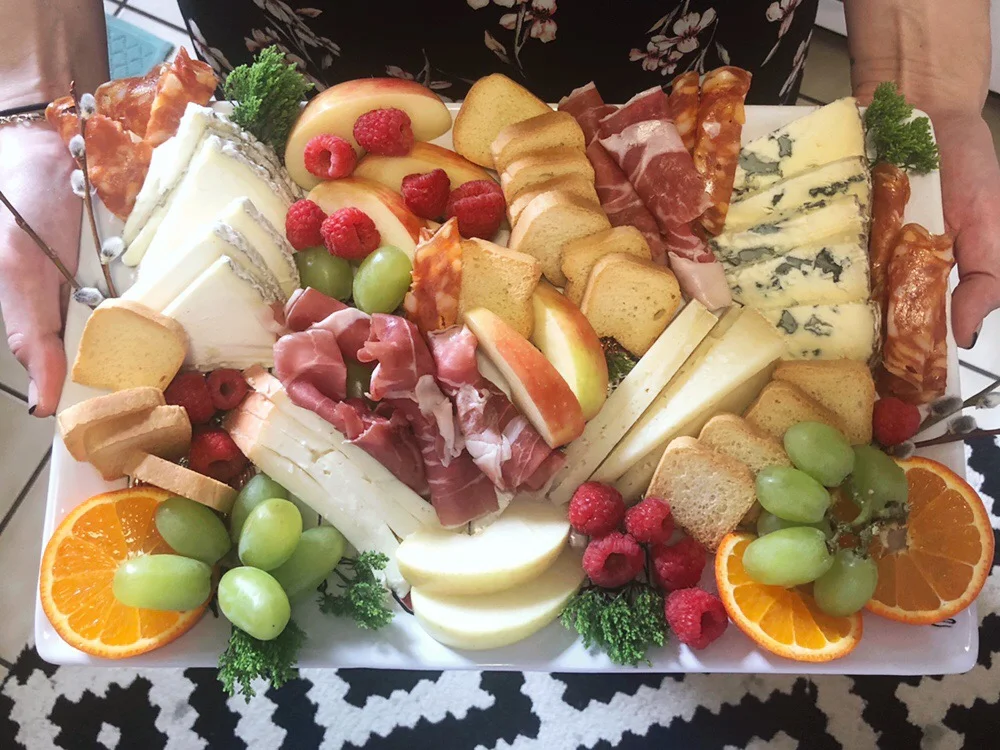
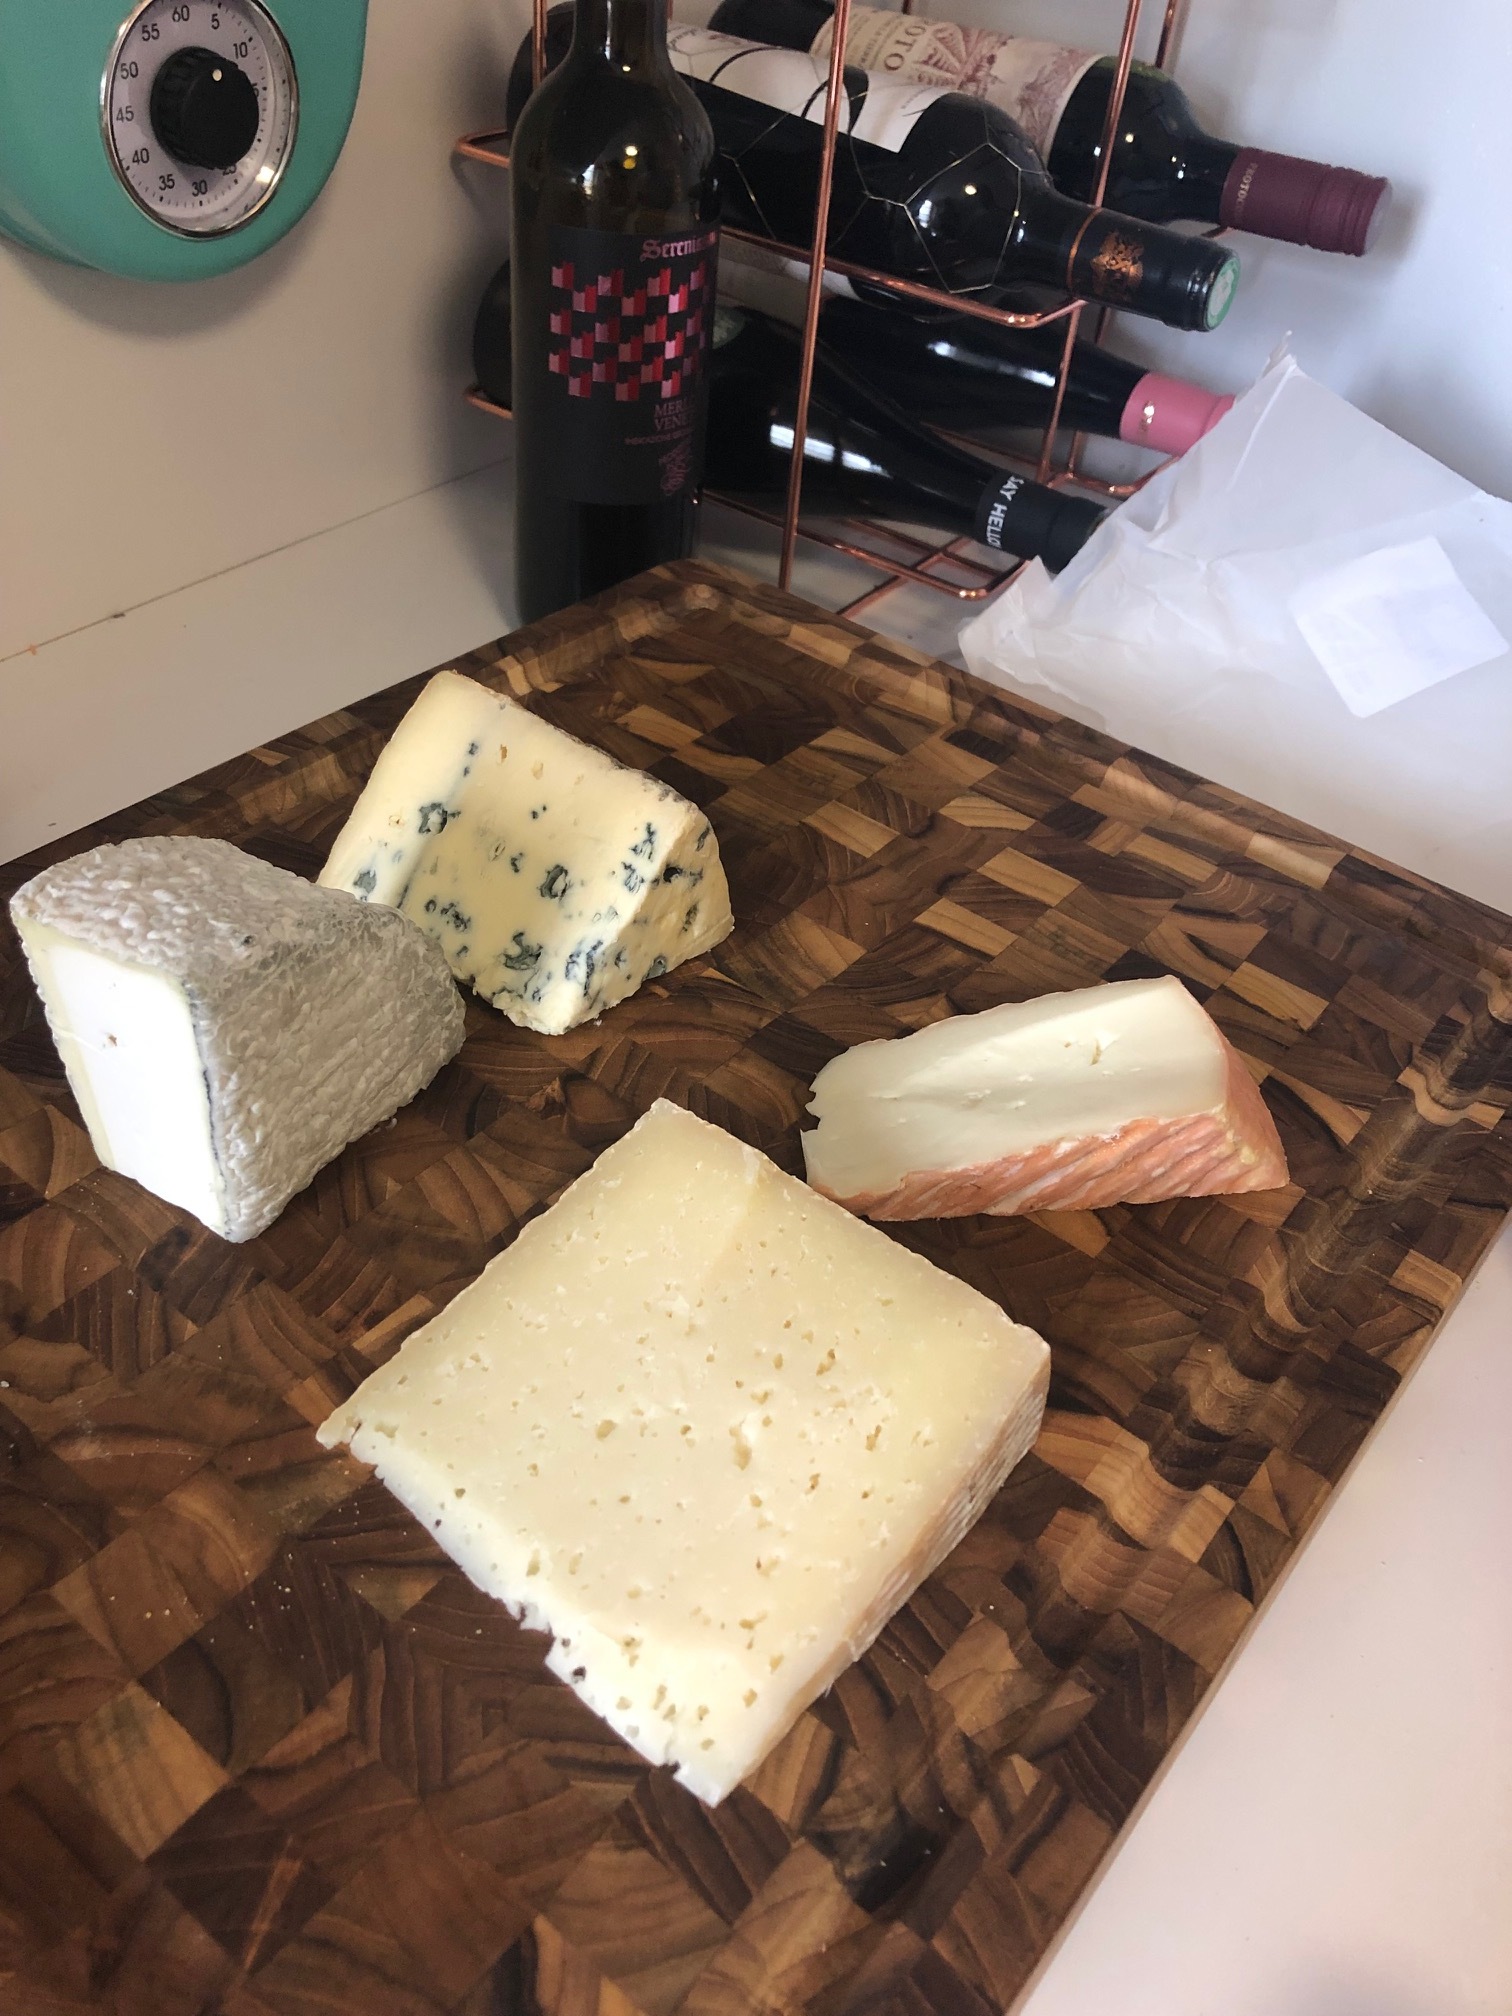
I try to choose three types of cheeses from the above categories. For my latest plate, I went with a Blue, Bloomy Rind, and Hard. I also like to add something different, like a locally made cheese with a unique flavor. I have gone with Punk! By Old Brooklyn Cheese and Reverie Creamery Chamomilla.
My favorite part of cheese plating is curating the platter. I love the way the plate looks overflowing with cheese and fruits and somehow all the options can work together when arranged the correct way. First, I place the cheeses in different spots on the plate and I try to keep colors (fruits, pickles, meats, or crackers) between the cheeses. The cheese should be the focus, but they tend to be lighter colors and can blend together. You want your guests’ eyes to see the cheese as stand out options and the other ingredients will help make this happen. Have fun and fill in any empty areas with flowers or greenery! For Easter, I used pussy willow branches. In the summer, Nasturtiums are a great edible flower option that tastes good too.
While visiting my local cheese shops, I learned some tips that go beyond building the cheese plate.
-If you do not have proper cheese utensils to cut with, use a wire! I used floral wire the first few times and it made nice clean slices.
-There aren’t any rules to building a cheese plate! Just make sure you have enough; about 2 oz of cheese per person and some fruit or nuts for guests to enjoy between the cheese.
-Harder cheeses should be served in slices or wedges. This will allow the air to enhance their flavor.
-Serve wine or cider with your cheese.
-Let your cheese sit out until its room temperature before serving.
I’m learning more with every visit to the cheese shop am always open to trying new cheeses. What are your favorite cheeses to use? Happy National Cheese Day!


